Adjust LEDNet Settings
After setting up the adapters and screens, and adding sections to the screen, there are a few additional settings that will be useful to set at this time.
Navigate to the Settings screen using the icon in the left-hand menu:

This will bring you to the Behaviour Settings screen.
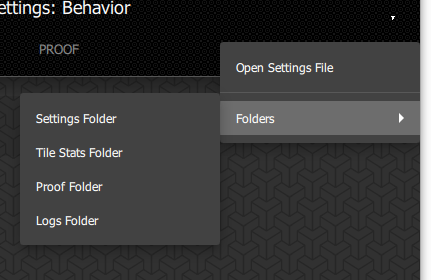
The dropdown menu in the top right corner gives you shortcuts to the folders where the following data is stored:
- Settings
- Tile Stats
- Proof
- Logs
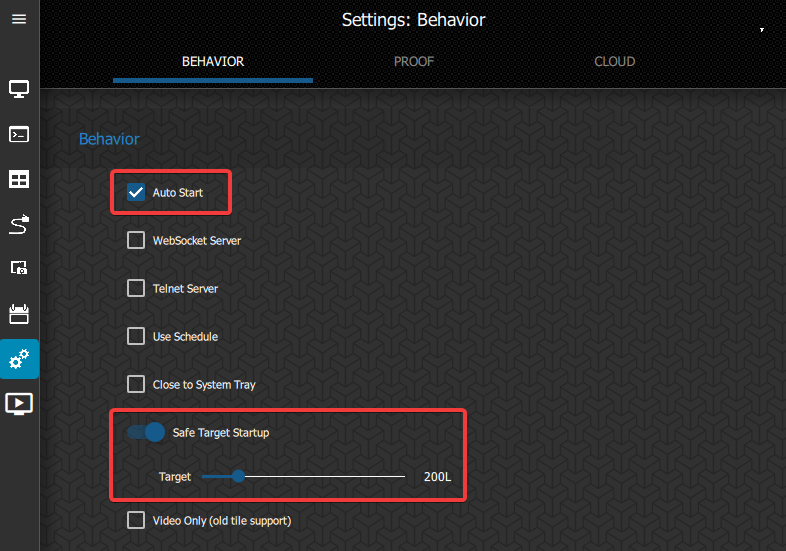
Behaviour Settings
If your screen is a billboard, you should tick the Auto Start setting so that if it ever goes down, the daemon can automatically try to restart it.
The other important setting to check is that the Safe Target Start up is set to a reasonable figure. This is the target lumens that will be displayed upon start up of the screen, it shouldn't be as high as the normal target lumens so that it's not too bright.
The remaining settings on this menu can be left as defaulted.
Proof Settings
Click on the Proof heading in the top of the window.
These settings relate to the proof of display data that is collected. First, turn on the Use Proof of Play toggle. Then click the toggles for Match proofs to media and Save unknown proofs. A folder should be populated for both of these automatically when they are turned on.
All data will be saved in the local user folder:
C:\Users\%username%\AppData\Local\Link88\Link88 Controller

Note that the Threshold setting refers to the length of time an image needs to be on the screen before it is captured in the proof of display data. The default is 2000 milliseconds (2 seconds) and can be adjusted to suit your preferences.
Other settings on this screen do not need to be changed during set up.
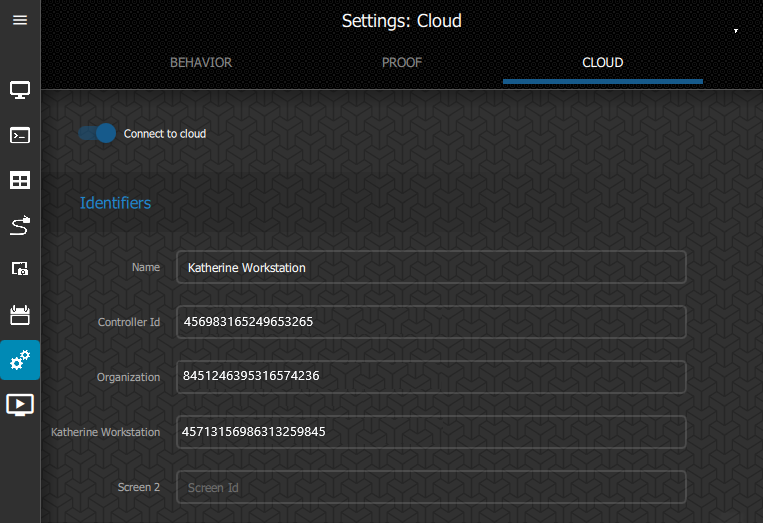
Cloud Settings
Click on the Cloud heading in the top of the window.
The settings in the Cloud menu relate to communication with the ON Cloud Platform and also to the screen's physical location.
Ensure that the Connect to Cloud toggle is turned on, otherwise it will not be able to communicate with the ON Cloud Platform.
Identifiers
The Screen name and ID codes should be populated if they are already present in LEDNet. If any of the ID codes need to be input, here is where you can find them in the ON Cloud Platform:
- Controller Name: Admin module: Controller Menu
- Controller ID: Admin module: Controller Menu
- Organisation ID: Admin module: Organisation Profile
- Screen ID: Admin module: Screens Menu
Location
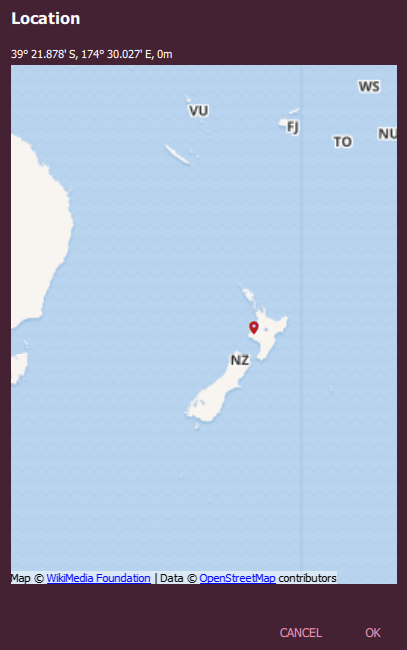
For the screen to be able to adjust automatically based on sunrise and sunset, the location needs to be input. You will also need to change the target settings from the Screens Target menu which can be accessed from the Screens menu.
Type in the Latitude and Longitude or click on the globe icon to view a world map.
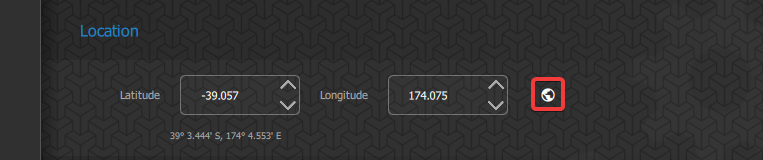
Use your mouse's scroll wheel to zoom out or in if needed.
To check that the location is correct, you can view the sunrise and sunset timings from the Screens Target menu.
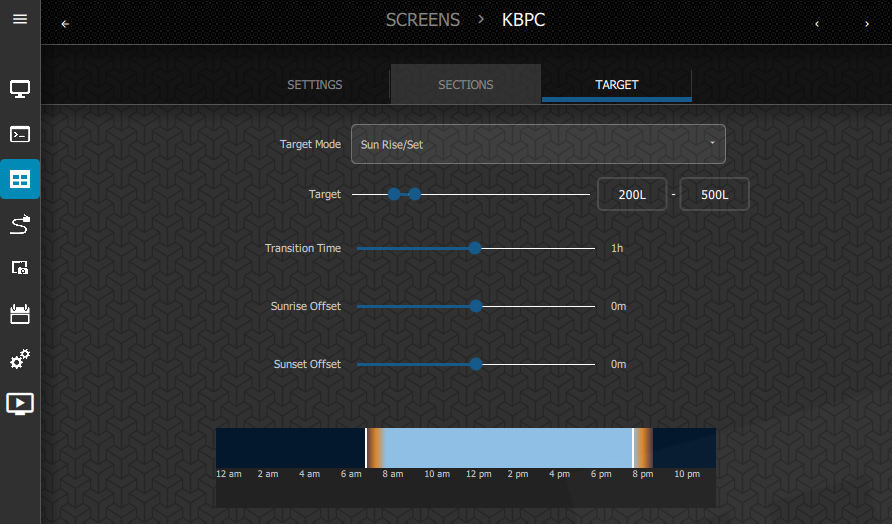
The times are shown as white lines and the transition time is indicated with the glowing sections near the sunrise and sunset times.
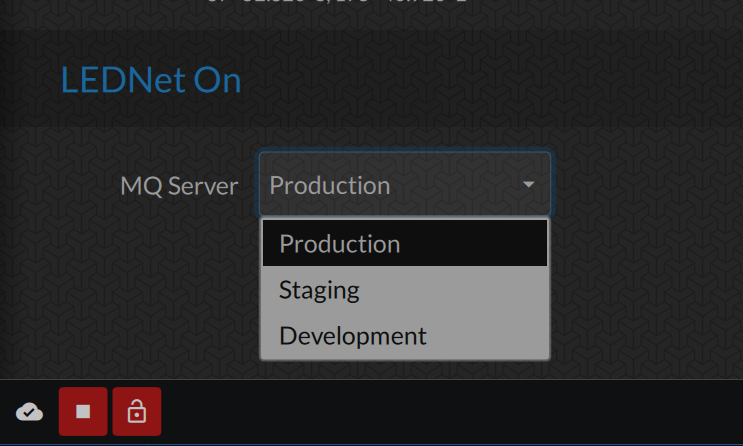
LEDNet On
The MQ Server should be populated and you should not change the server so please leave it as it has defaulted.
Now that these settings are defined, you can load media in your preferred media player and begin displaying images on your screen.