Schedule

The Schedule screen allows you to add or edit a schedule for the screen using Lua scripts. For example, the schedule function can be used to make a light sensor compatible with LEDNet using target commands from external services, for example.
For more information about Lua, version 5.1 can be referenced online using this Lua Manual.
There is a startup.lua script that can be exposed for anything that you want to run each time the screen starts up.
You can use the schedule for simple tasks such as stopping or starting the screen. For more advanced scheduling, we recommend using Windows task scheduler in conjunction with LEDScript.
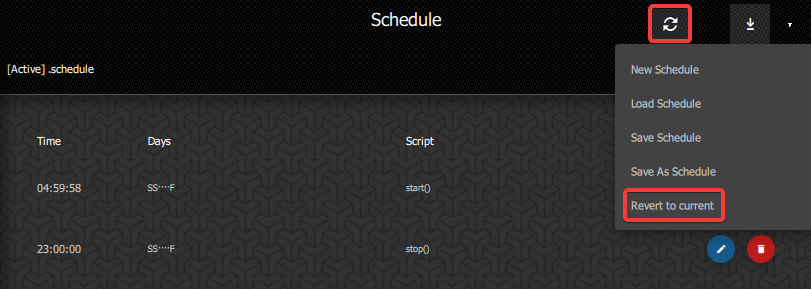
All of the functions below can be accessed from the top of the screen, or by clicking on the dropdown menu in the top right corner.
Add New Schedule
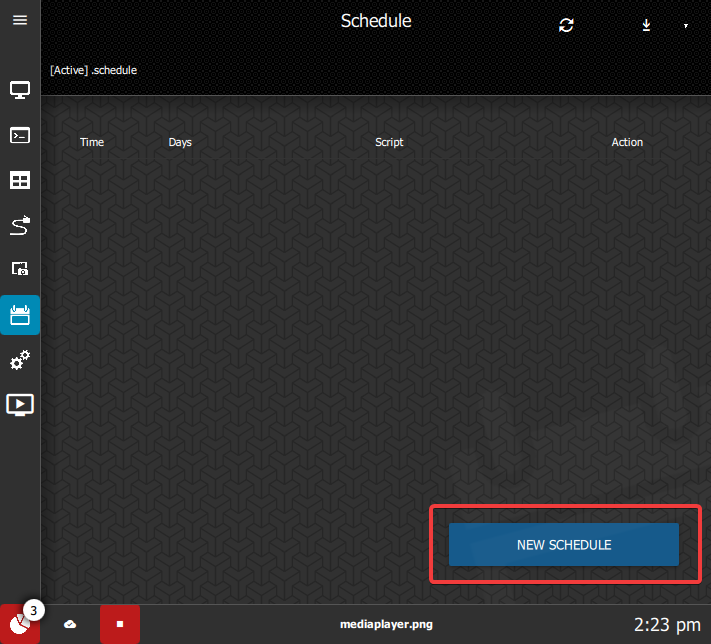
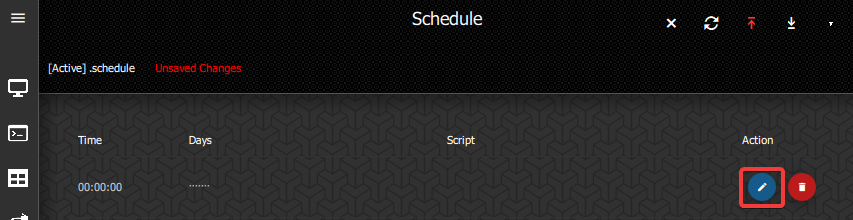
To add a scheduled action, click the New Schedule button then click the Edit button on the row that appears.
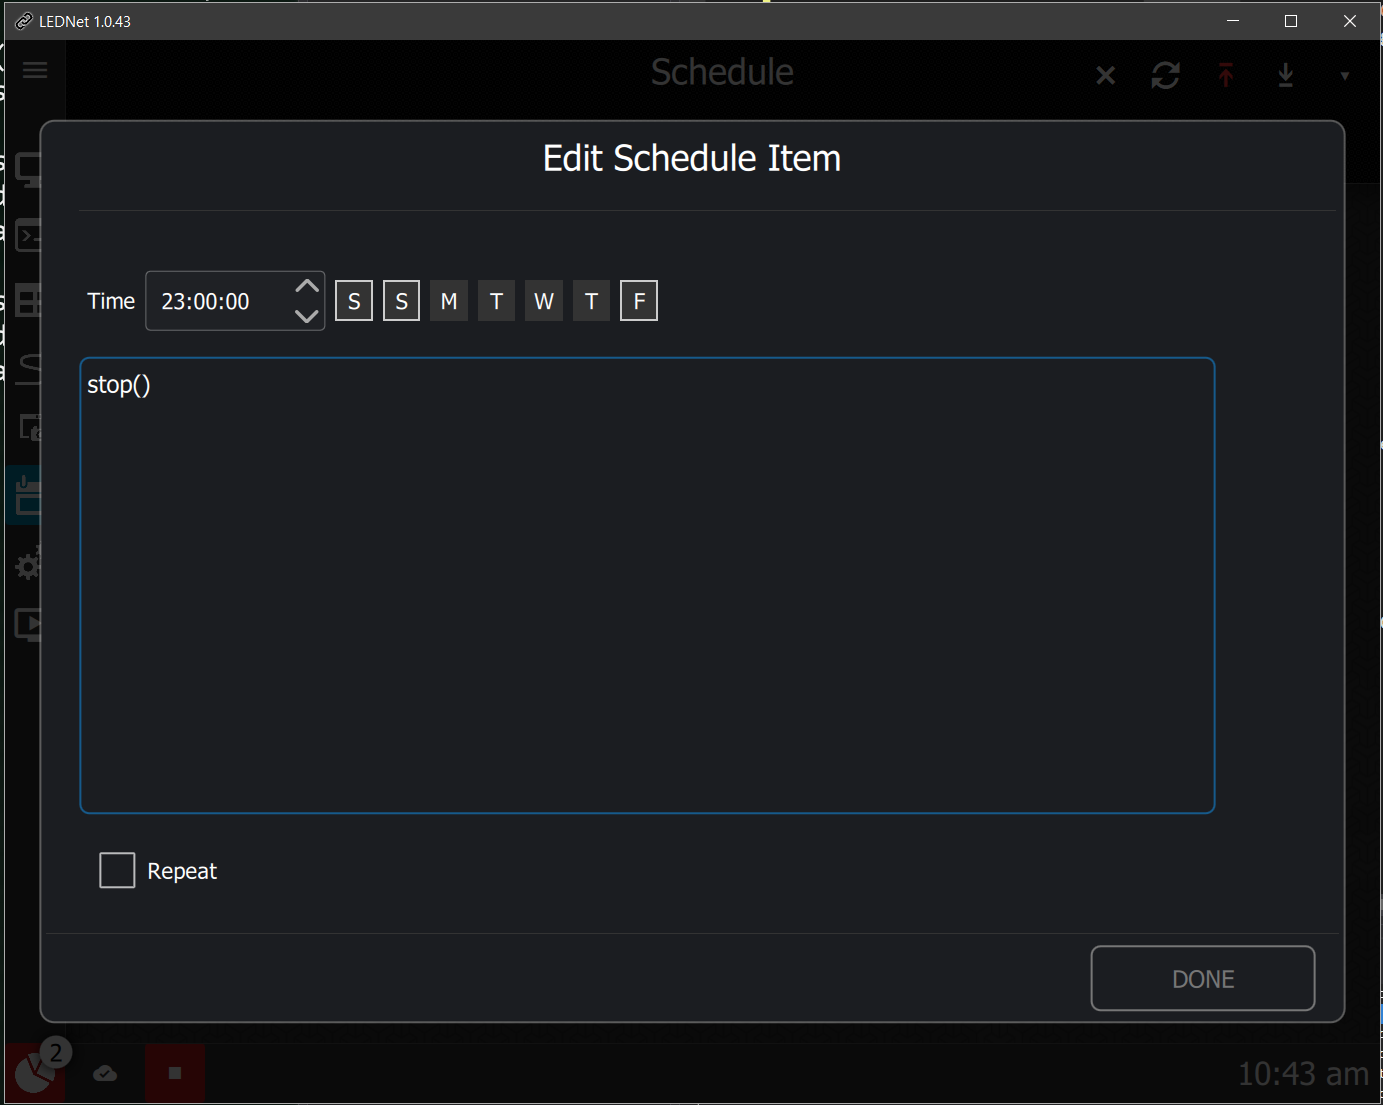
The pop-up window that comes up allows you to set the time and days of the week that you want this script to run.
To set a schedule that will turn off the screen on Fridays, Saturdays and Sundays at 11:00pm, click the days it should be in effect and input the time you want it to run. Then input the stop() command into the text box and click the Done button.
Once the details are input, save the changes to the schedule by clicking the up arrow.

All scheduled items that are showing on the Schedule screen will be active unless they are removed. When a schedule is set, the screen target will lock and this will be displayed on the Home screen.

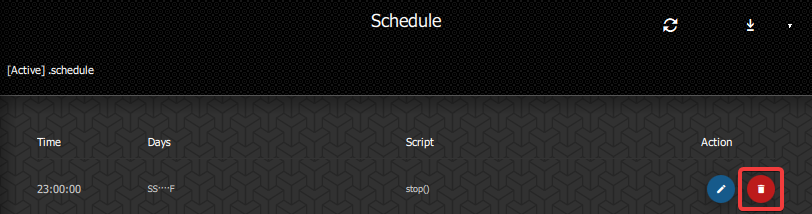
Delete Schedule
If you want to delete one of the scheduled actions, click the Delete icon.
Load Schedule
If you prefer to load a schedule from a file, click the Load Schedule button and select the file to upload from the Explorer window that comes.

The file for the schedule in the example above is:
{
"items": [
{
"lua": "stop()",
"days": 97,
"time": "23:0:0",
"repeat": false,
"every": 0,
"duration": 0
}
]
}
Revert to Current
To discard unsaved changes, click the Revert to Current button. This will take you back to the status at the last time you clicked Save.
If there are no unsaved changes, this button will delete all of the scheduled actions listed.